Maximize Conversions Using Customizable WordPress AlertBars
Adding timely announcements, promotions, or critical updates to your website is essential for increasing engagement and conversions. A WordPress AlertBars Plugin makes this simple, allowing you to create visually striking AlertBars that instantly grab attention.
With Divi Builder integration, this plugin lets you design fully customizable AlertBars without writing a single line of code. In this guide, we’ll explore how to use a WordPress AlertBars Plugin effectively and outline the key benefits it brings to your website.
Pro Tip: Check out AlertBars by DiviNext for a seamless WordPress and Divi experience.
How to Use a WordPress AlertBars Plugin
Creating AlertBars with a WordPress AlertBars Plugin is intuitive. Follow these steps for best results:
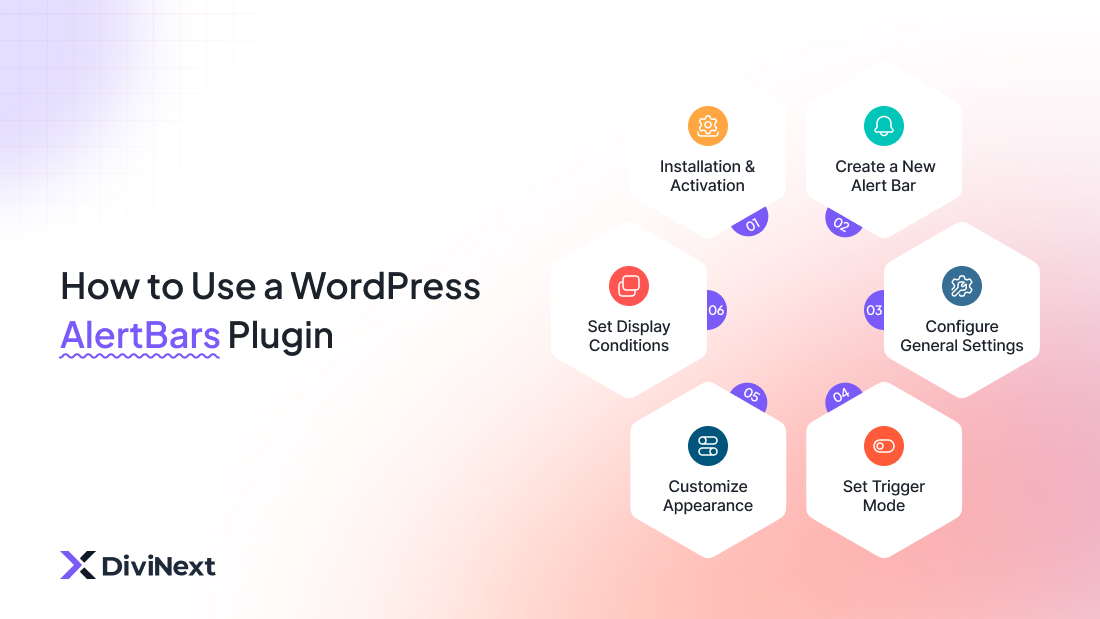
Step 1: Installation and Activation
- Log in to your WordPress Dashboard.
- Navigate to Plugins > Add New > Upload Plugin.
- Upload the .zip file for your WordPress AlertBars Plugin and click Activate Plugin.
- After activation, a new menu (e.g., AlertBars) will appear in your dashboard.
Step 2: Create a New AlertBars
- Go to the plugin menu and click Add New.
- Enter a title for internal reference (e.g., “Holiday Sale Banner”).
- Use Divi Builder or your theme editor to design the AlertBars visually.
- Configure General, Customization, and Display Conditions.
- Click Publish to make your AlertBars live.
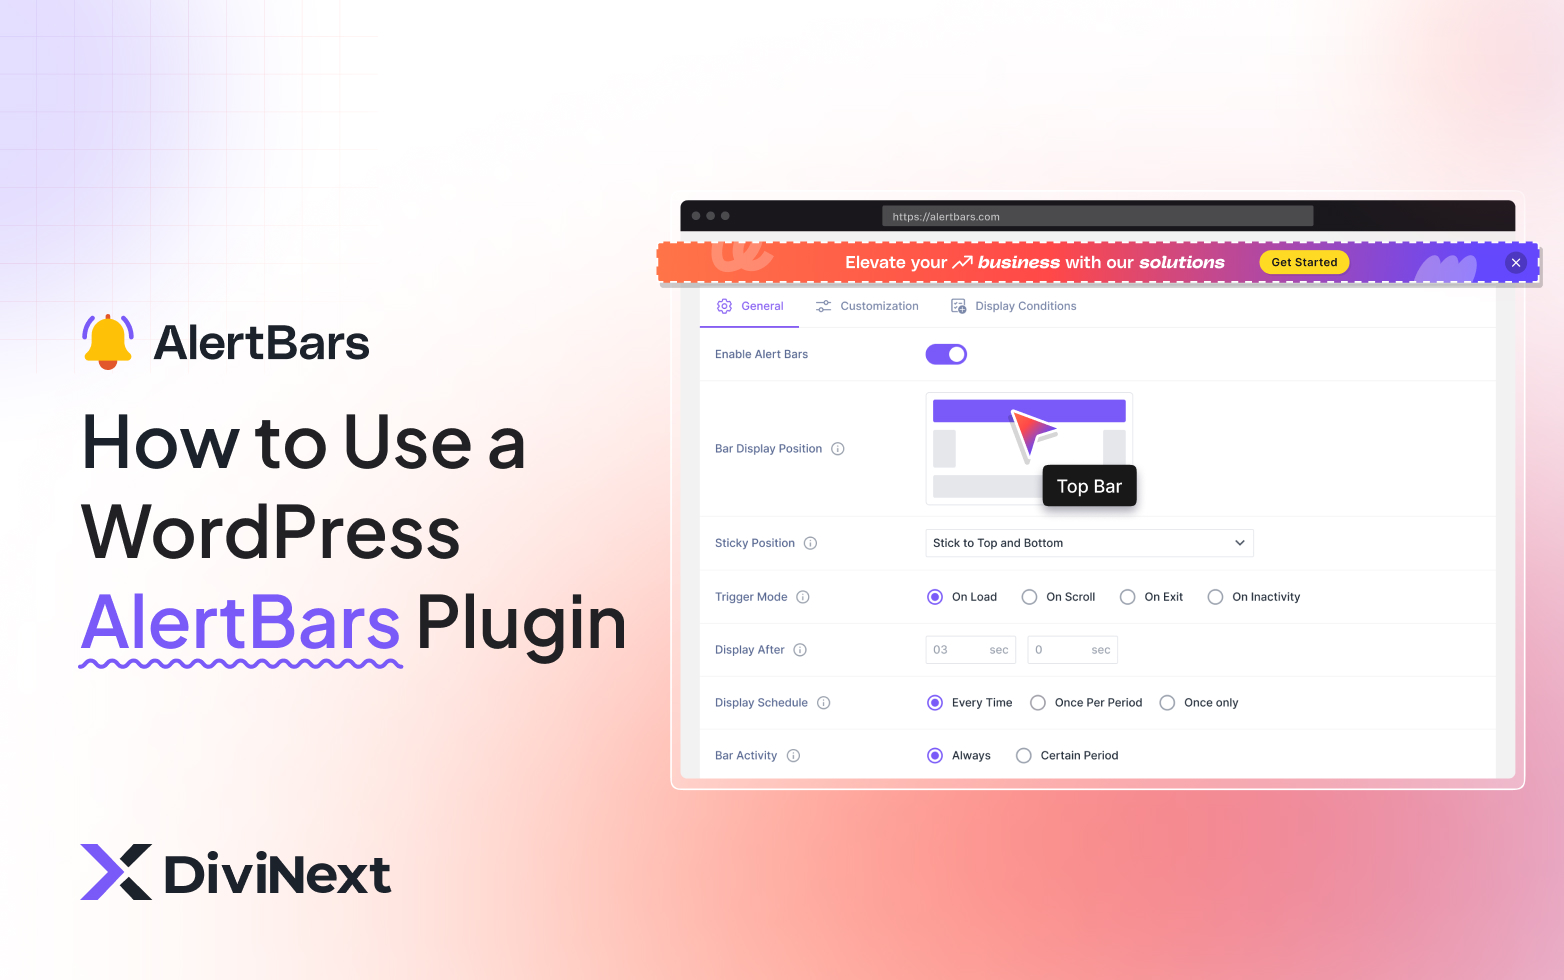
Step 3: Configure General Settings
- Enable the AlertBars to make it active.
- Choose Bar Display Position: Top, Bottom, Left, or Right.
- Decide Sticky Position: fixed (sticky) or scrollable.
- Set Trigger Mode: On Load, On Scroll, On Exit, or On Inactivity.
- Adjust Display After Delay and Display Schedule for precise visibility control.
Step 4: Set Trigger Mode
- On Load: Shows immediately when the page loads (best for urgent announcements)
- On Scroll: Triggers when users scroll to a specific percentage (ideal for engagement-based offers)
- On Exit Intent: Appears when users try to leave the page (perfect for last-chance discounts)
- On Inactivity: Shows after users are inactive for a set time (great for re-engagement)
- Set trigger delay timing for optimal user experience
- Choose frequency settings to control how often the same user sees the AlertBars
Step 5: Customize Appearance
- Set background color, text color, and typography.
- Choose entry and exit animations.
- Configure the close button: functionality, size, color, and persistence.
Step 6: Set Display Conditions
- Target user roles (Guest, Subscriber, Customer) or devices (Desktop, Mobile, Tablet).
- Include or exclude specific pages, posts, categories, or tags.
- Schedule alerts for promotions, campaigns, or seasonal updates.
Pro Tip: Learn how to create AlertBars WordPress users love for higher engagement.

Benefits of Using a WordPress AlertBars Plugin
Adding AlertBars to your website with a WordPress AlertBars Plugin brings multiple advantages:
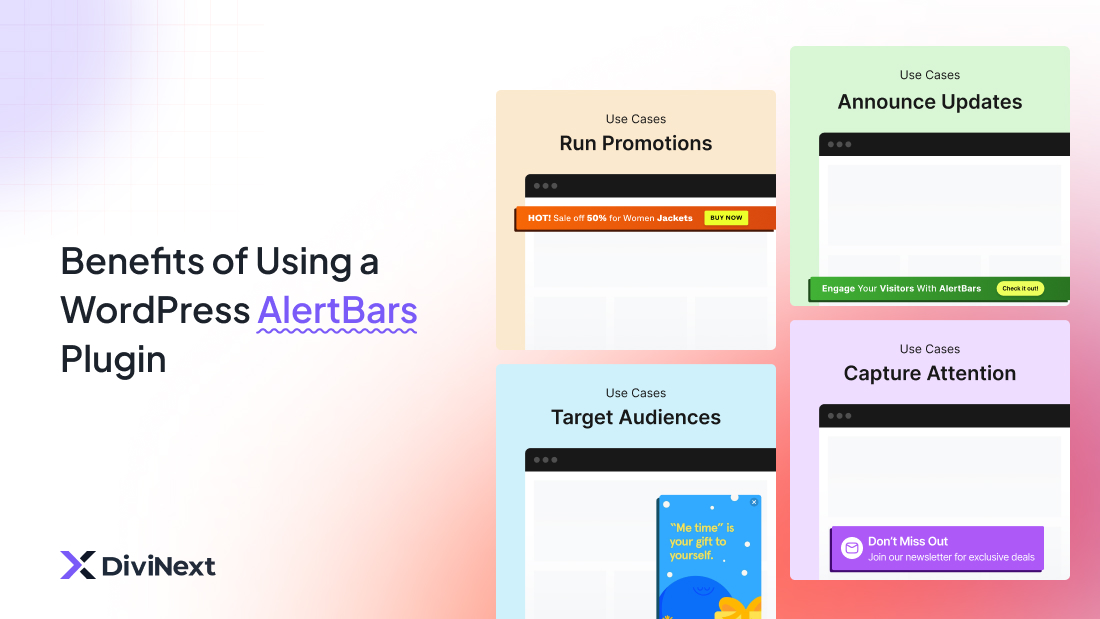
1. Increase User Engagement
AlertBars capture visitor attention instantly. Trigger-based alerts (like exit intent or scroll) ensure users see your notifications at the right moment, boosting engagement significantly.
2. Boost Conversions and Sales
Promote limited-time offers, discounts, or special announcements directly on your website. Countdown timers and urgency triggers encourage immediate action, increasing conversions.
3. Better Targeting and Personalization
Display alerts to specific user roles or devices. Tailor messages for new vs. returning visitors or for specific campaigns. A Divi AlertBars plugin ensures design consistency across all notifications.
4. Improve UX Without Being Intrusive
AlertBars can be sticky or dismissible, so they don’t interfere with user experience. Options like “Don’t show again” let users control visibility while still receiving important updates.
5. Easy Design and Full Customization
Works seamlessly with any WordPress theme or page builder. Divi Builder integration allows you to visually design and fully customize your AlertBars, matching your website branding perfectly.

Best Practices for Using a WordPress AlertBars Plugin
- Keep messages short, clear, and compelling.
- Use colors, animations, and typography to emphasize urgency.
- Avoid multiple AlertBars at once to prevent overwhelming visitors.
- Test different trigger modes to maximize engagement.
- Schedule alerts strategically for campaigns, product launches, or seasonal announcements.
Pro Tip: Pair your WordPress AlertBars Plugin with a website notification plugin for maximum impact.

Conclusion
A WordPress AlertBars Plugin is a versatile tool for effectively communicating with website visitors. Whether your goal is to increase engagement, boost conversions, or deliver timely updates, AlertBars allow you to reach the right audience at the right time.
With easy installation, advanced display conditions, full customization options, and optional Divi Builder integration, plugins like AlertBars ensure your messages are seen without compromising user experience.
Ready to Boost Engagement and Conversions?
Start creating your AlertBars today and maximize visitor attention, sales, and user satisfaction.
Frequently Asked Questions For AlertBars Plugins
What is a WordPress AlertBars Plugin?
It’s a plugin that lets you display notification bars on your website to share announcements, promotions, or calls-to-action in a non-intrusive way.
Do I need coding skills?
No. The plugin is user-friendly and can be set up and customized without any coding knowledge.
Can I customize the design?
Yes. You can change colors, fonts, placement, and style to match your website’s branding.
Can I target specific audiences or pages?
Absolutely. You can display bars based on pages, devices, user behavior, or campaign timing.
Why should I use AlertBars?
They help you grab visitor attention, increase engagement, and boost conversions while keeping a smooth user experience.
What if I need help or support?
Our dedicated support team is ready to assist you anytime. Contact us at su*****@******xt.com
